There are two good reasons to use your own Microsoft Cloud (Azure) storage on BOBcloud.
It is easy to do, and low cost (approx. £0.01 per GB to transfer in and store 1GB of data). This is based on UK LRS blobs.
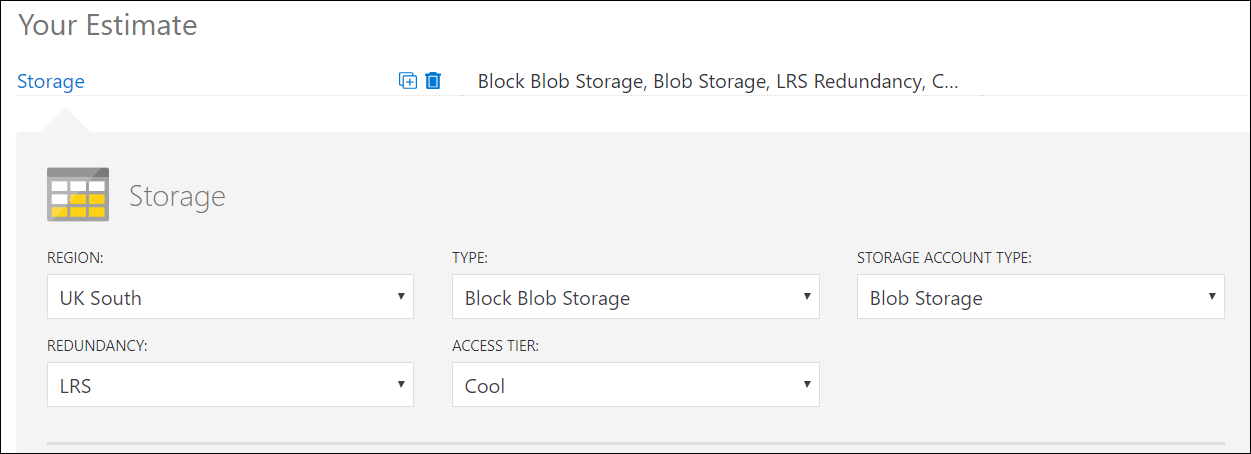
Microsoft has a calculator to help you work out your pricing.
How to get started
-
Create an Azure account at https://azure.microsoft.com/en-gb/free/
They are providing 12 months of free usage and £150 credit -
After you have created your account you will need to create your first Resource group. This is basically a container where you will add your services. You can segregate multiple services in multiple resource groups.
You can create a resource group by clicking on the plus sign or add one when you create your first storage account.

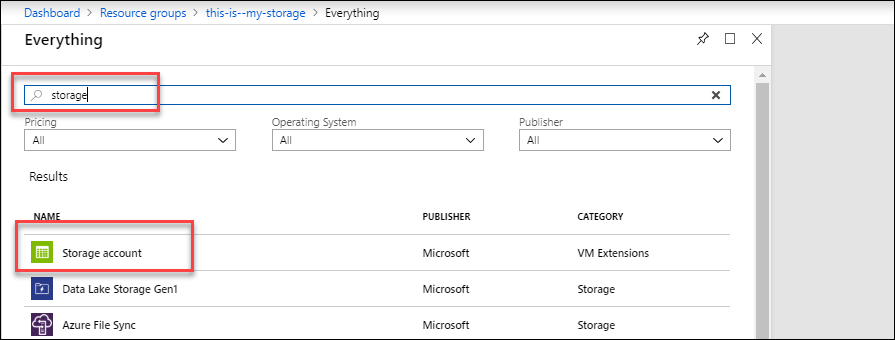
- Next, you need to add storage by clicking on Add in the top left of the screen.

- Type in Storage and select Storage account from the results.
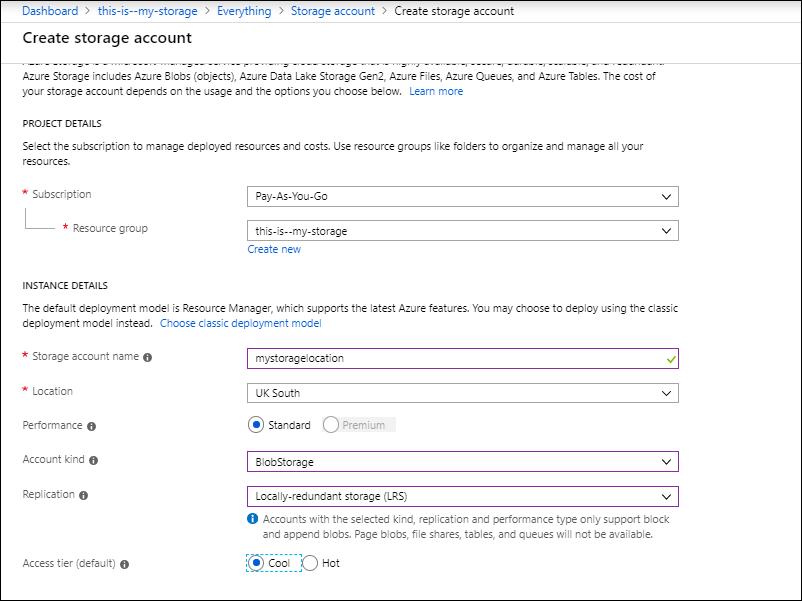
Note I have selected the region, account type BlobStorage, replication LRS and Access tier Cool. These options will provide the lowest cost storage and you should check they are suitable for your needs.
-
Click Create to finish
-
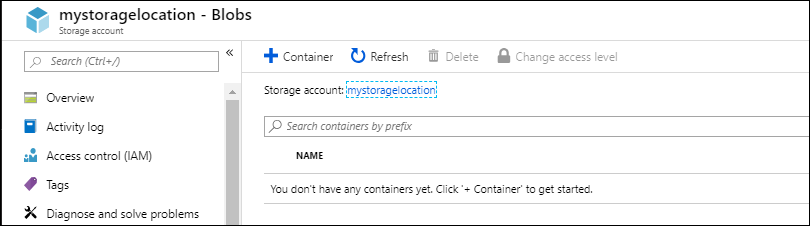
After 30 seconds you will see the service has been created and your page should look like this.
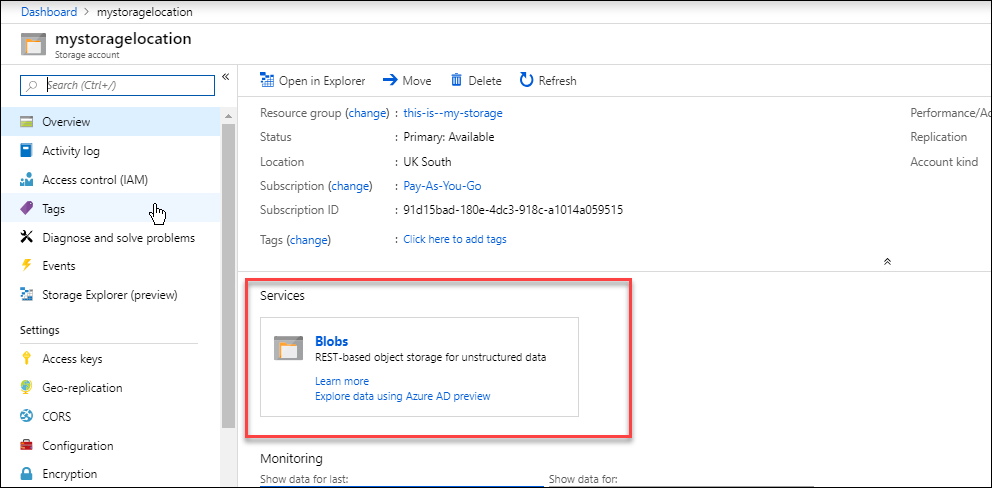
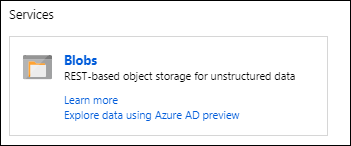
- Click on Blobs and go into the container.
-
There is no need to create a new container because the backup set will do this when it first runs.
-
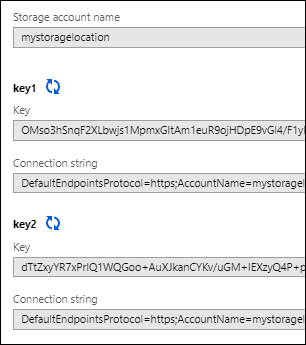
Finally, click on the Access Keys key on the left-hand menu to display your keys.

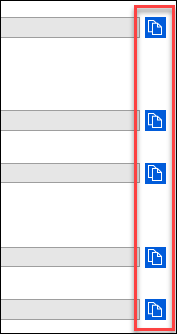
The keys can be copied by clicking on the blue icon on the right of the page. We will use the Storage Account name and one of the keys in our backup set.
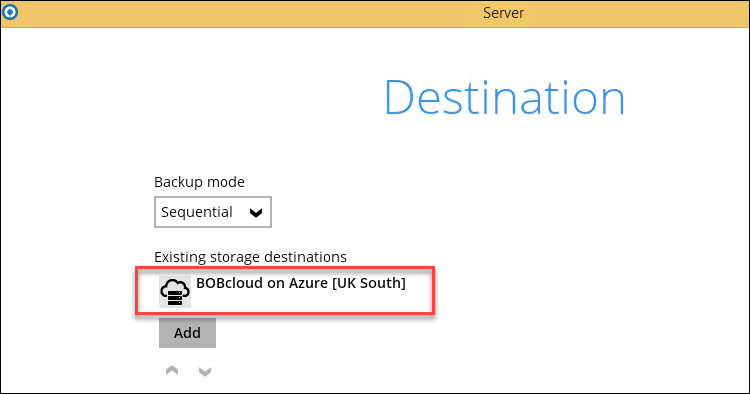
- Go into the BOBcloud backup software and create a new backup set or edit an existing one.
Go to the Storage Destination setting and double click on the pre-configured destination we hard code into the software. It will be named Azure and will contain your region’s name.
Click on Delete this storage destination.
NOTE: If you have backed up any data to this location on this backup set, it will be permanently purged as soon as you delete it.
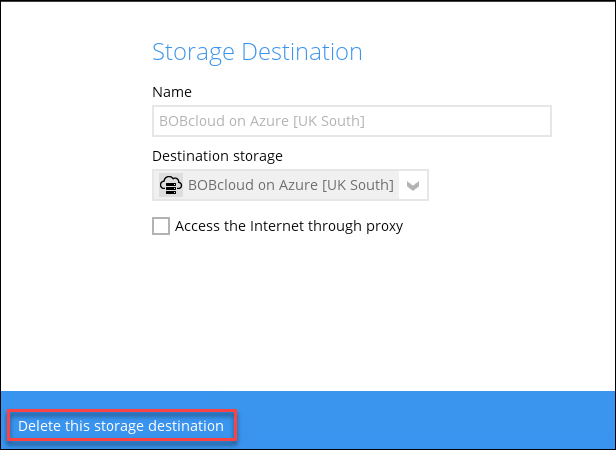
Answer OK to the warning and delete the destination.

- Afterwards, you will return to the Destination page.
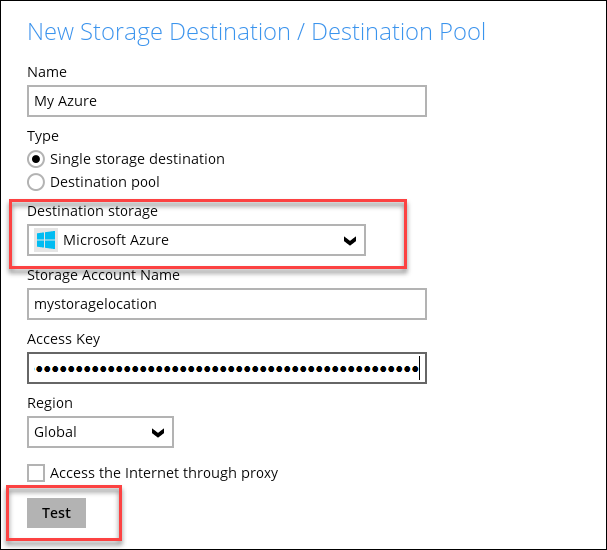
Click on the + sign to add a new destination.

Select Microsoft Azure. Give it a friendly name, then enter your Storage Account Name and Access key from the Azure portal we created in step 9.
Don’t select the BOBcloud Azure connector.
Click on Test
If you have entered your Azure details correctly, you will see a green success tick.
-
Continue creating the backup set and run the backup.
-
Go back into your Azure portal and click on the Blob service. You will see a container has been created with the name ahsay-random number-region
You can further navigate through the containers to see the folders. Each backup set will create its own folder.
If you chose the default blob security policy option private when you created the storage, you won’t be able to navigate through the containers in the native view.
Clicking on Storage Explorer from the left menu will allow you to navigate.
That is it, you are now backing up securely to Azure.