Wasabi provides object storage from its data centres in the US, EU and UK.
Their platform is similar to Microsoft’s blobs and uses the same connector as Amazon’s S3.
We have reviewed Wasabi vs Backblaze B2 in the article below
If you want to back up your customers’ data to Wasabi, you have two options with BOBcloud. You can use our pre-defined Wasabi destination or connect your customer backups directly to Wasabi.
Using BOBcloud’s predefined Wasabi destination eliminates all the hassle; you can select this destination directly within the backup software.
If you prefer to reduce your storage costs, connect your backup sets to your own Wasabi account as shown below.
- Go to your Wasabi portal at https://console.wasabisys.com. The splash screens might differ from those shown here, but the process is identical.
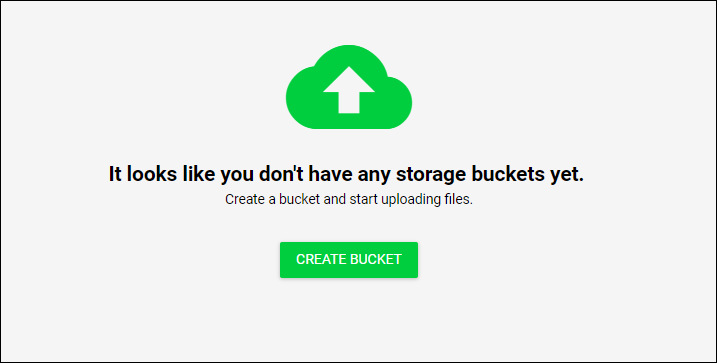
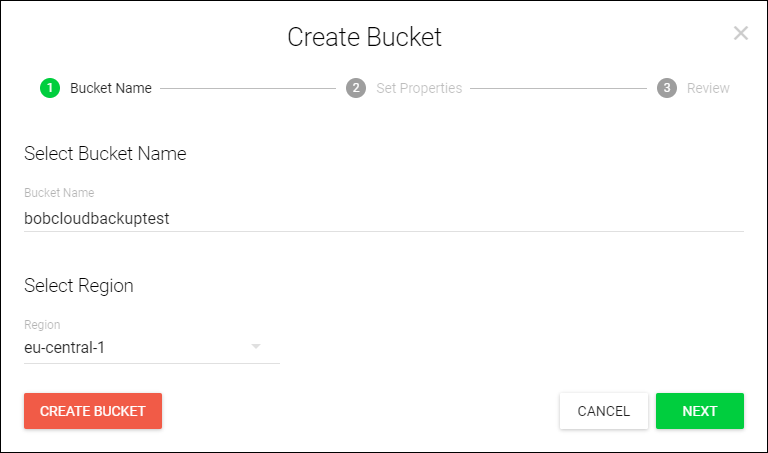
If this is your first visit, you will be prompted to create a storage bucket. This is the permanent home for your data. You will also be asked about enabling version and logging. This isn’t required because the BOBcloud software on your device will manage the versioning.
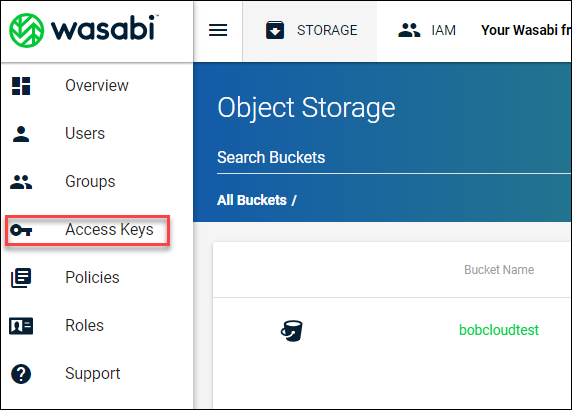
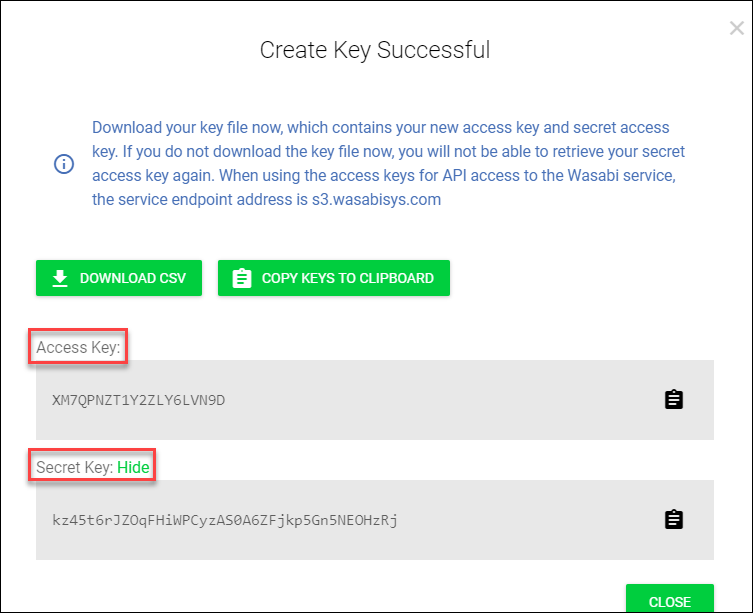
- Next, you need to create Access Keys
The backup software requires these login credentials to access your bucket.
- Create a new access key
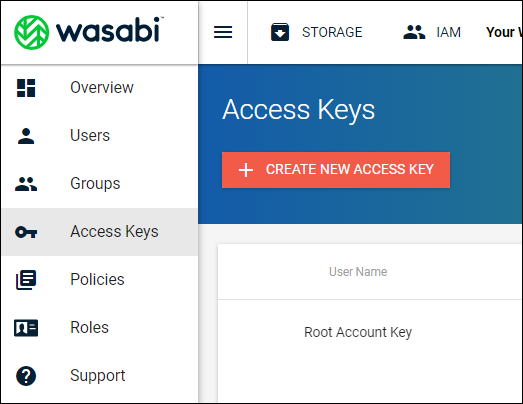
Copy this information securely. You MUST store these offline.
Return to the BOBcloud software.
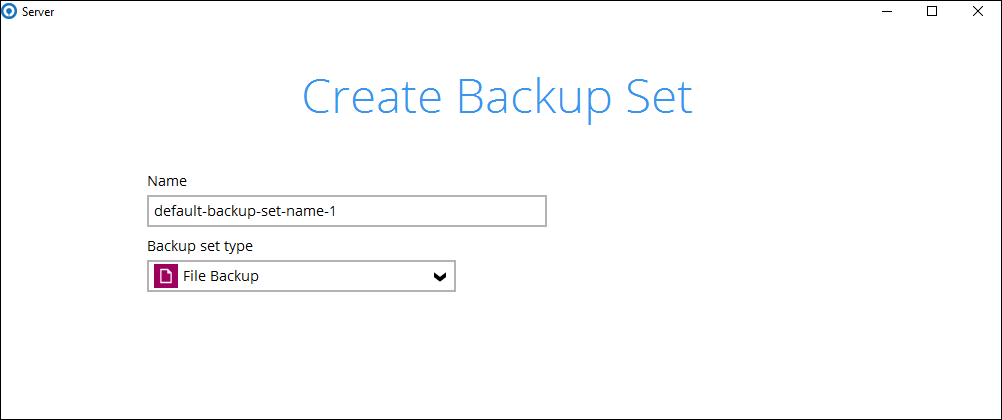
- Add a new backup set
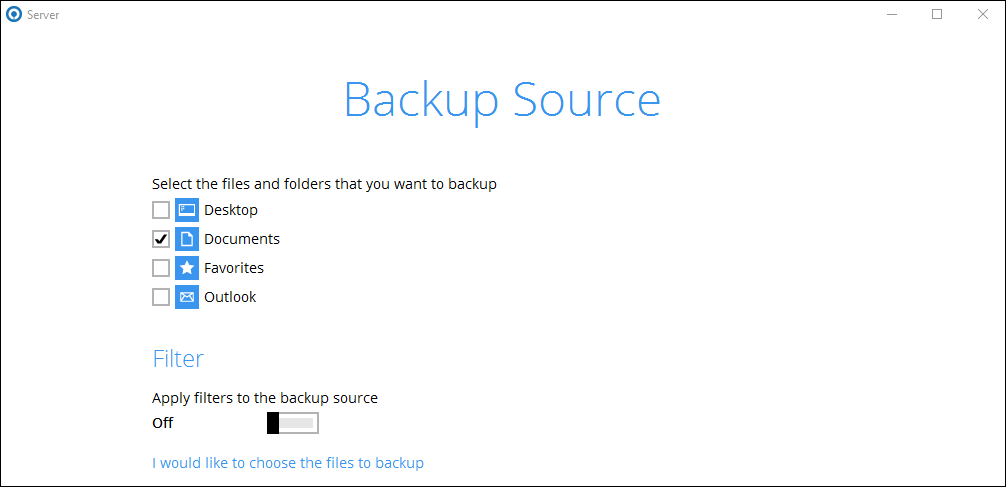
- Select the backup source
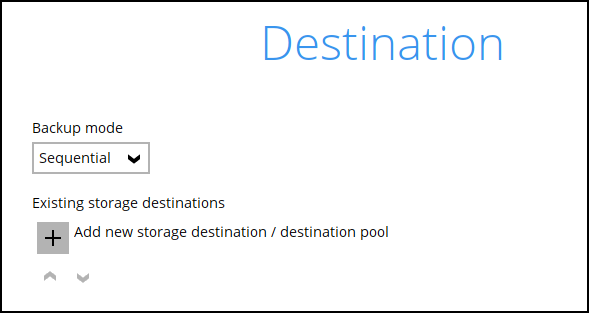
- Remove the embedded BOBcloud destination (if shown) by double-clicking on it.

Delete our destination (bottom left).
If you have any data on our destination, it will be deleted and purged immediately. We won’t be able to restore it.
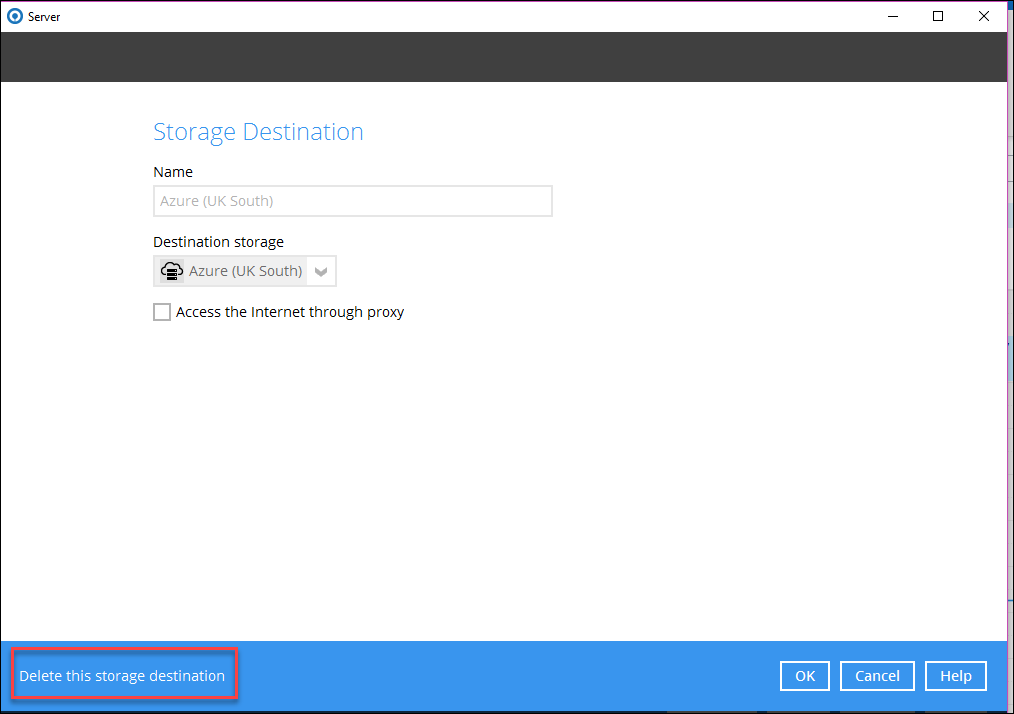
Add a new storage destination, then select Wasabi from the dropdown list.
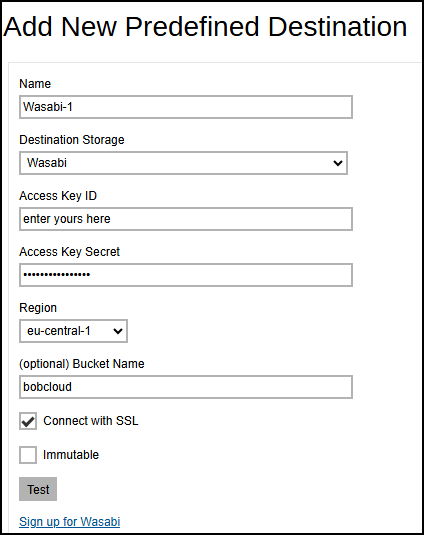
- Fill in the connection page with your Wasabi details.
Click on Test button below to confirm the credentials work. This storage destination has been added to your backup account.
-
The destination has been added. You can add more destinations to other cloud providers or your own storage.
-
Add your new storage destination and continue creating the backup set.